Table of contents
In this portion, we will explore the pressing instructions for DTF Transfers and how long they should be applied for optimal results. You may have questioned the appropriate duration for pressing DTF Transfers, and we will provide the answers you need to achieve the desired outcome.
Although it is crucial to prioritize producing high-quality prints, it is equally important to properly transfer these designs onto your garments during DTF printing. Following specific pressing instructions is essential in preserving the vibrancy and preventing unwanted peeling after the transfer process. These instructions are crucial to achieving success in your DTF printing journey!
Materials and Equipment
In this blog, it will be assumed that the DTF Transfers have already been printed. If this step has not been completed, kindly refer to our blog post on purchasing DTF transfers or printing DTF transfers. The materials and equipment listed below will be necessary to successfully finish the entire process:
DTF Prints
As previously stated, we will assume that the DTF transfers have already been printed, which involves a DTF film with a printed design.
Garments
DTF transfers can be utilized on a variety of materials. In this article, we will discuss the most commonly used materials. However, if you are planning to transfer on a material that is not mentioned here, we suggest you check out our blog post on applying DTF transfers to different materials for detailed instructions tailored to your specific material.
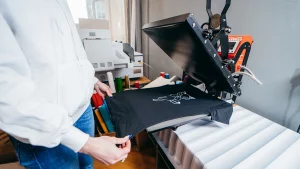
Heat Pressing Machine
To transfer your designs onto clothing, you will need a heat press machine. To find the right one for your needs, you can explore the selection of pressing machines and choose the best option. Keep in mind that there are various types and brands of machines available, so it is important to carefully consider the features of each one. Some may have a lower cost but not as durable, while others may have a higher cost but yield better results.
When it comes to finding a suitable heat press machine for your needs, there are many options available. However, the best choice will ultimately depend on your budget and personal preferences. It is recommended to determine your budget beforehand and refer to our blog post on starting a small business with DTF transfers for guidance before making any investments.
Teflon or Parchment Paper sheets
For a glossy finish, a Teflon sheet is required to press the film onto the garments. If a matte result is desired, a parchment paper will be used.
Pressing Process
To start with, it is important that the fabric on which the DTF transfer will be applied is smooth. We recommend pressing the garment beforehand and allowing it to cool completely before proceeding with the transfer.
It is important to have a smooth surface to guarantee optimal pressing during transfer. It is necessary to avoid any wrinkles or irregularities in the surface to prevent the transfer from breaking or sustaining damage.
Design Centering
Once you have finished cutting your design, it is important to properly center it on the garment that you will be transferring it to. Utilizing helpful tools such as guiding and measuring tools can assist you in properly aligning and centering your design.
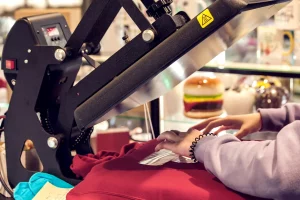
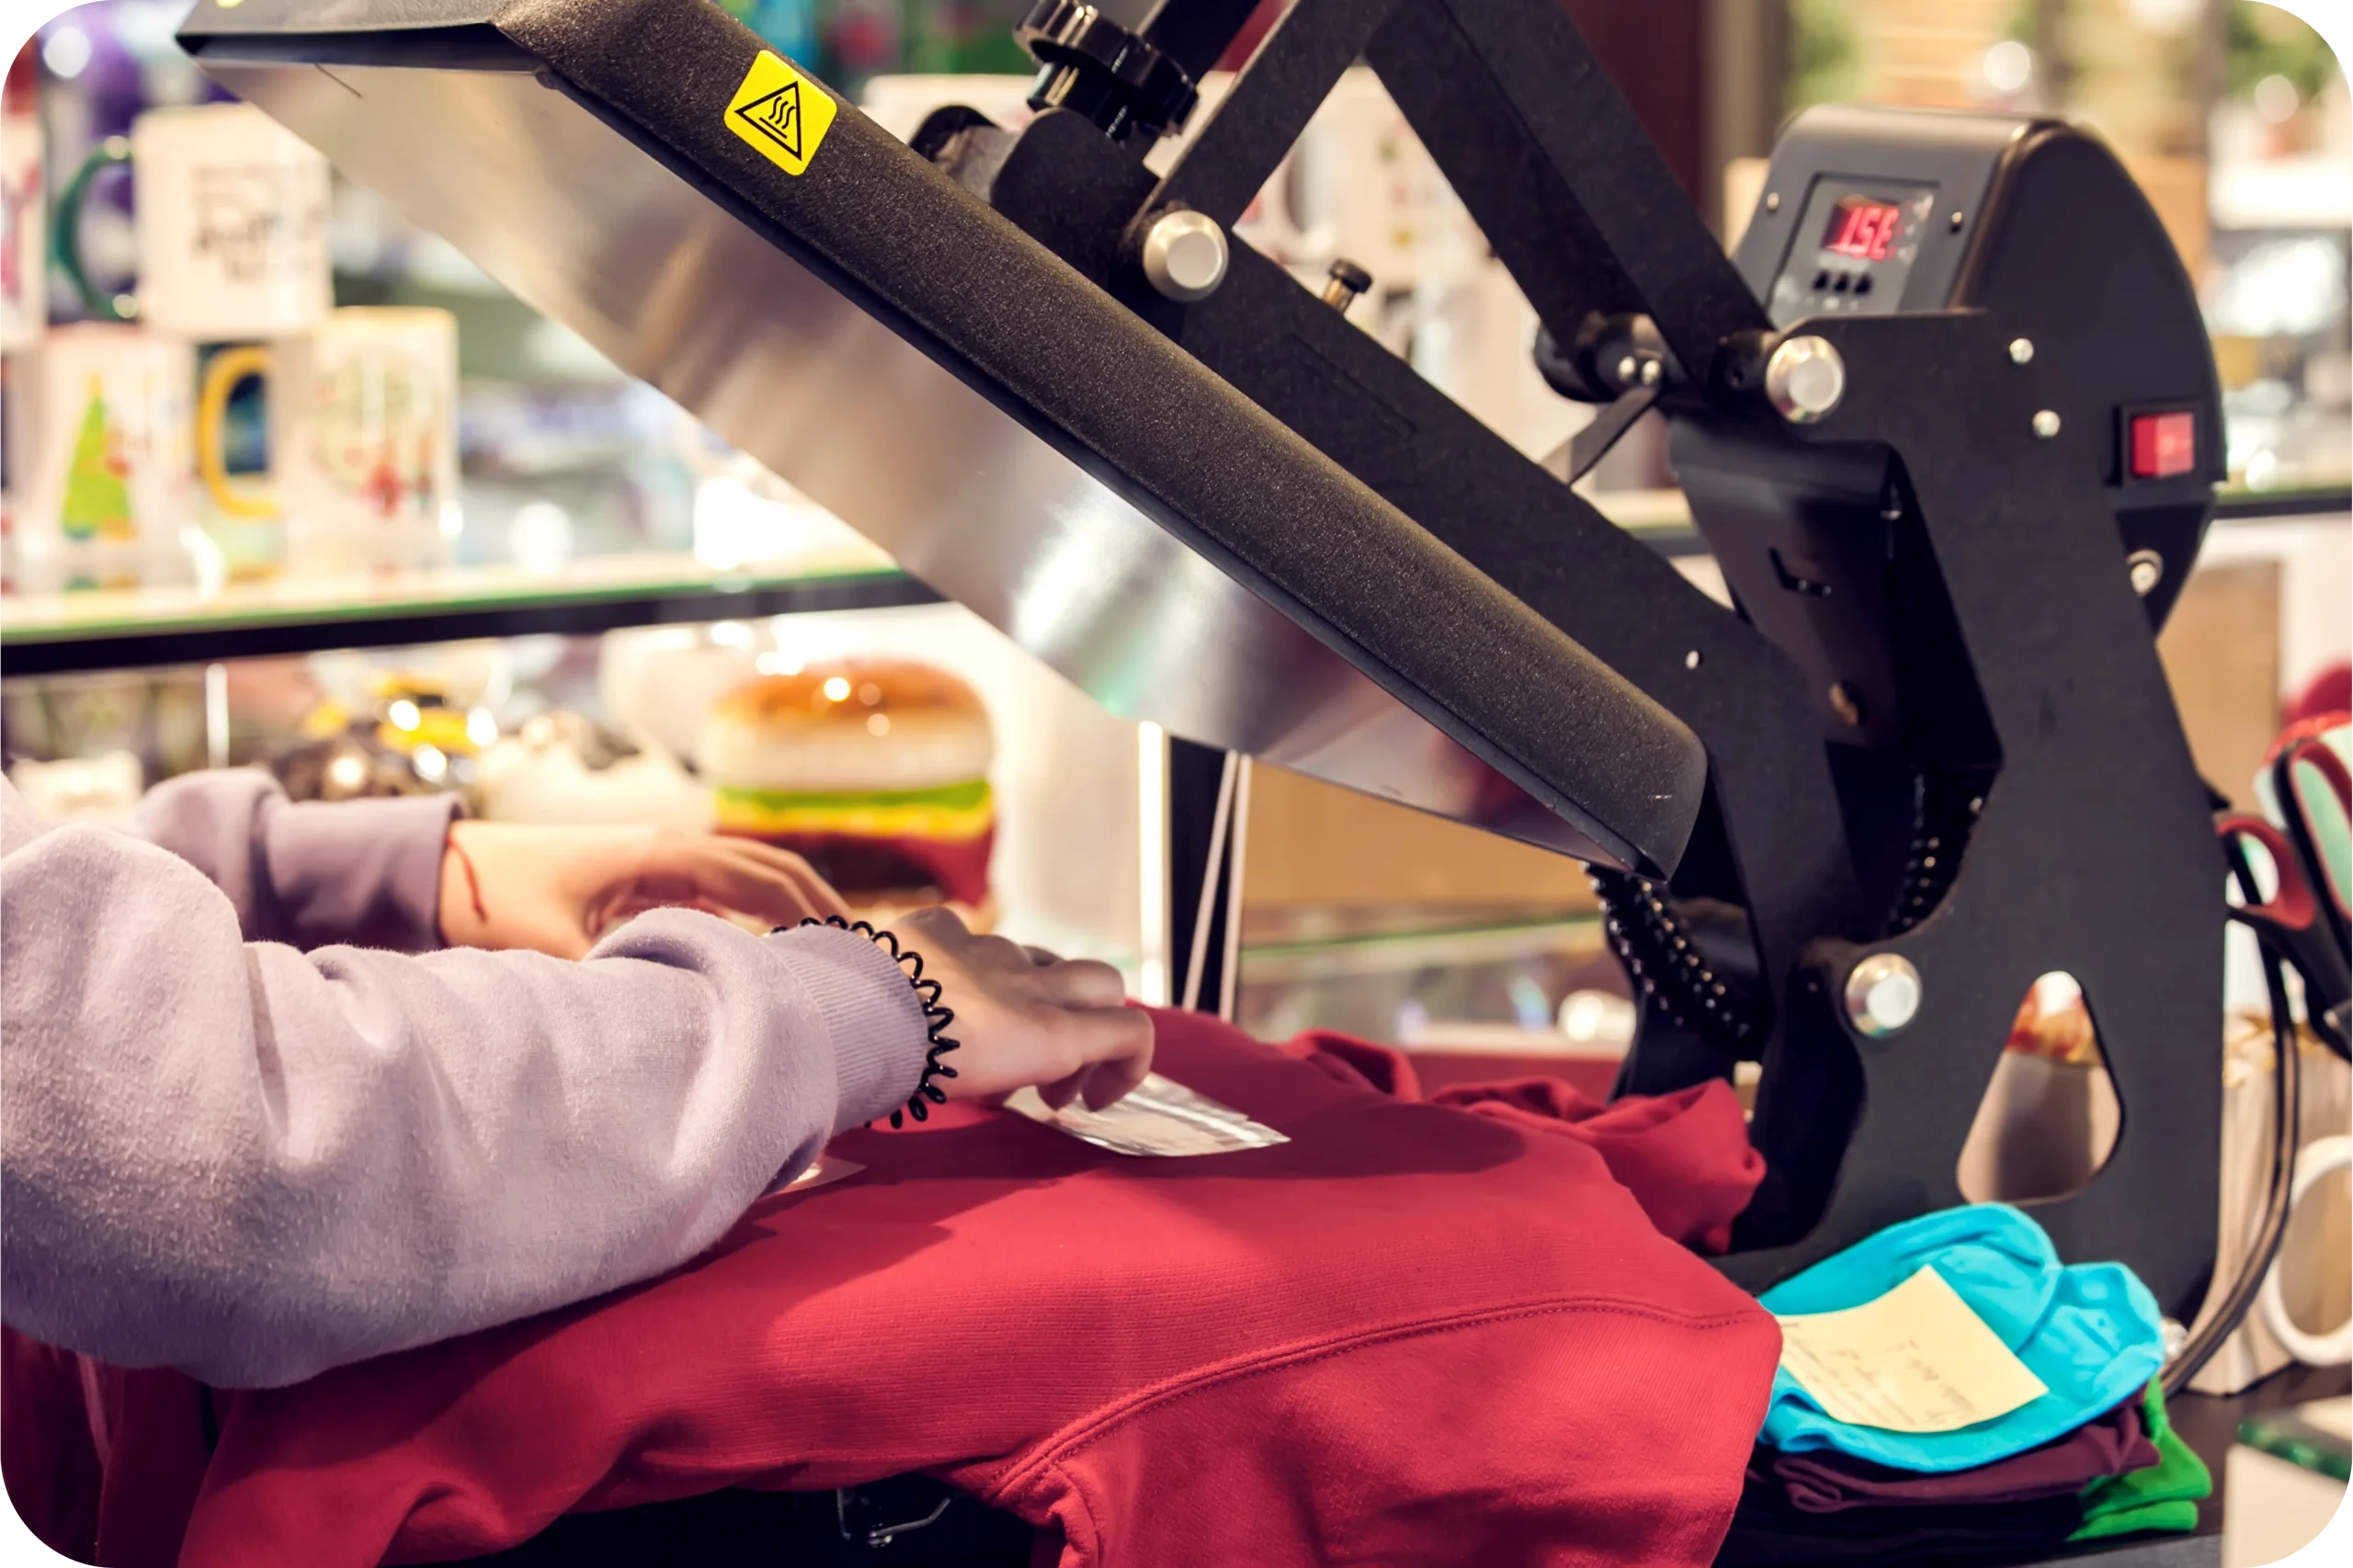
Pressing
After ensuring that the design is correctly aligned or placed in the desired position, the next step is to begin pressing. The pressing time and temperature may vary depending on the material being used for pressing.
It is important to note that utilizing a Teflon sheet will result in a vivid transfer, while using parchment paper will result in a matte outcome. Whichever sheet is used for transferring the design will also be used for repressing after peeling.
Step-by-Step Guide to Pressing DTF Transfers
After gaining a thorough comprehension of the DTF transfer process, we will now explore a detailed walkthrough on how to execute DTF transfers. It is crucial to carefully follow these instructions in order to achieve the best possible outcome.
1. Preheat your heat press machine to the recommended temperature range.
2. Place the DTF transfer onto the garment, ensuring it is centered and properly aligned.
3. Close the heat press and press for 10 seconds at the recommended pressure.
4. After the initial press, allow the transfer to cool down completely. This cooling process is crucial for the ink to bond with the fabric.
5. Once the transfer has cooled down, open the heat press and peel off the carrier film slowly.
Place a Teflon sheet if you wish a gloss result or a Parchment paper if you wish a matte result on top of the transfer and repress for an additional 10 seconds to ensure proper ink adhesion.
| COTTON | |
| TEMPERATURE | 280-320 Fahrenheit degrees |
| PRESSING TIME | 10-15 seconds |
| PRESSURE | 60 psi |
| POLYESTER | |
| TEMPERATURE | 266-270 Fahrenheit degrees |
| PRESSING TIME | 8-10 seconds |
| PRESSURE | 60 psi |
After the design is applied to the garment, it is important to remember that our transfers require a cold peel method. This means that you should wait for the design to cool down and become soft to the touch before gently removing the film. Once the design is cooled, use a Teflon sheet or parchment paper to press it again for an additional 10 seconds.
It is important to always conduct a test before starting a major task. This includes testing the outcome of colors, the transfer results, and the techniques used for transferring. By doing so, one can ensure a successful and high-quality outcome for their work.
Tips
Below are a few suggestions that could potentially assist you:
- To ensure the correct temperature of your press machine, utilize a heat gun to check the temperature. It is important to direct the heat gun to all corners to ensure that all surfaces of the press machine are at the proper temperature.
- To ensure that the design is correctly aligned, you have the option to utilize various measurement instruments.
- In case your surface is not entirely even, you have the option to utilize a pressing pillow and apply moderate to intense pressure to ensure a flat surface before pressing. It is essential to check for zippers, seams, or buttons in the pressing area to avoid any complications.
- One method for verifying the accuracy of pressure is known as the Paper or Dollar Bill Test. This technique, among other benefits, aids in the calibration of a heat press machine.
- It is highly recommended to allow the transfer to fully cure for 24-28 hours before washing or folding. This is crucial in preventing the transfer from breaking or peeling.

Examining the temperature of a heat press machine by utilizing a heat gun.To conclude this section, it is evident that the instructions for DTF pressing are relatively simple. If you do not achieve the desired outcome on your first attempt, do not worry. Practice is crucial and with time, you will perfect your technique. Additionally, as you gain more experience, you will be able to assist others in starting their own businesses.
In case you encounter difficulties in pressing your designs, you can always reach out to us and we will do our best to assist you in resolving any issues. So, why wait? Now that you have learned how to press DTF transfers, let’s work together! Allow DTF Transfers Now to be your partner on this incredible journey. Take a look at our full range of products, we are eager to collaborate with you!